As a food blogger, am I supposed to say that I don’t have a favorite recipe? (As in, all my recipes are so great, how could I ever choose?) Well, I can’t say that because it would be a big lie. I can totally say which is my favorite — it is THIS one. This very recipe for dark chocolate chocolate chip peanut butter cookies (which also shockingly happen to be gluten free and dairy free). (Or possibly this one (my favorite chocolate cake), so hard to choose!)
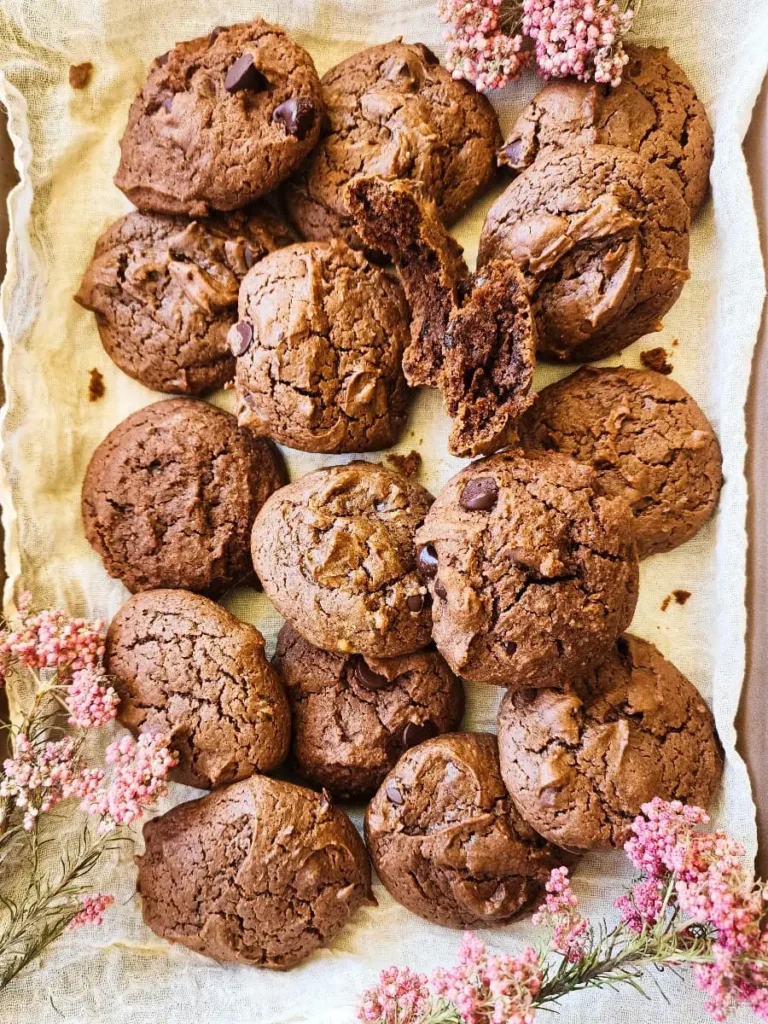
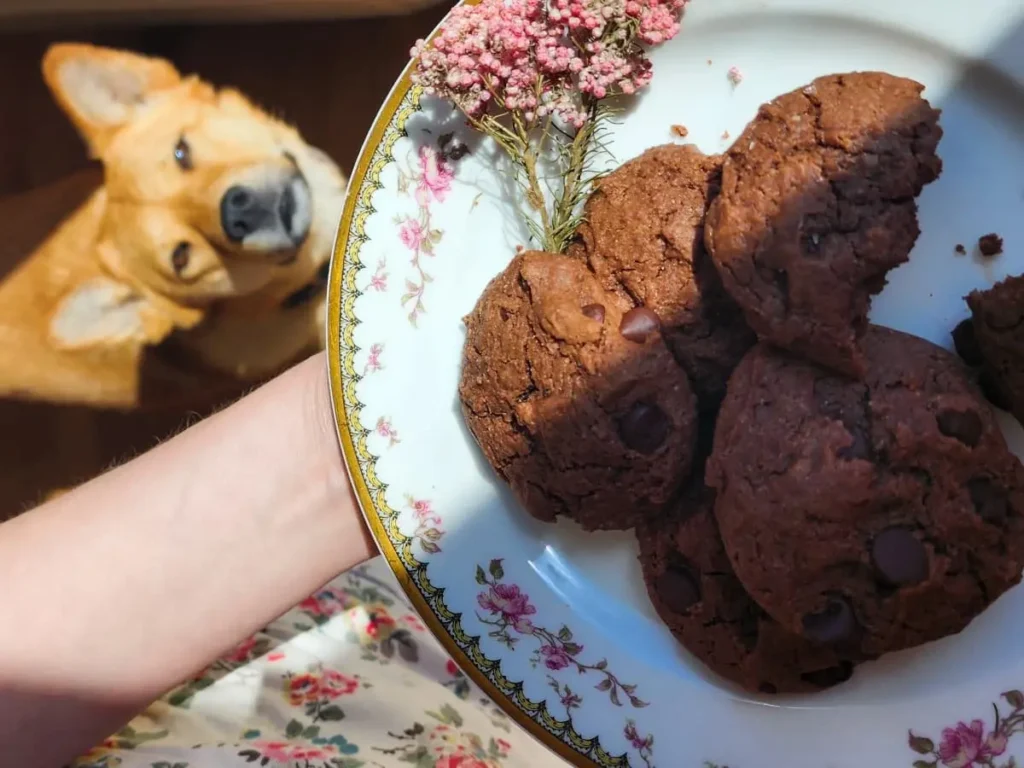
Soft but moist, dark but sweet, and just the right amount of peanut butter to go with the chocolate chips that surprise you with their gooeyness like little sleeper agents of deliciousness… oh I seriously need to eat one right now!
Secret ingredients include dairy free yogurt, coconut oil, and espresso powder (if you dare), combining to make these cookies super tender and — with both cocoa powder and chocolate chips — packed with deep chocolate flavor. They are always a crowd-pleaser, probably more than any other cookie I make. I know you will love them!

The Story: Why These Gluten Free Dairy Free Dark Chocolate Chocolate Chip Peanut Butter Cookies Are My Favorite of All Time
Three reasons:
- Reason #1: because of chocolate + peanut butter, of course. Greatest combo of all time? Very possibly yes.
- Reason #2: because they are sooooo soft. I really don’t know how or why that is — a bit of serendipity in my kitchen. So many peanut butter cookies are completely dry and crumbly! This is not at all what I wanted, so many years ago I set about trying to find a recipe for the chocolate peanut butter cookie of my dreams. Not finding anything to my liking, I made this one up. Which brings me to…
- Reason #3: pride. I can now say I’ve left this world better than I found it. (Umm, yes, I might be letting the sugar go to my head at this point. Quick, somebody make me some dinner!)
How This Recipe Came to Be
Back in the day, before being gluten free (BBGF), I searched for a cookie recipe that combined my twin loves of chocolate and peanut butter. But my search was to no avail. All I could find were peanut butter cookies that stuck a peanut butter cup in the middle and called it a day. That was not at all what I imagined. Where was the chocolate?? So, I tried and tried using different combinations of ingredients until I finally created a recipe that brought my dream of soft and moist chocolate peanut butter cookies into the real world where I could eat them!
I made the gluten and dairy version of the cookies on repeat for many years when my kids were little. So, when I went gluten and dairy free in 2017, I knew I wanted to recreate them but in GF/DF form. However, many years and many failed attempts at gluten free baking passed before I was finally able to recreate these wonderful cookies. Now, I am a happy consumer of chocolate and peanut butter once more.
The Ingredients: It’s All About the GF Flour & Chocolate
Here are a few of the recipe’s most important ingredients, with tips on brand suggestions and potential substitutions. Make sure to check the recipe card for a full list of ingredients and quantities.
- Gluten Free Flour Blend: I use Steve’s Gluten Free Cake Flour Blend from Authentic Foods. It’s ground more finely and uses plant fiber instead of xanthan gum — two tweaks that produce baked goods hard to distinguish from the real deal. But you can also feel free to use another 1:1 gluten free flour blend here, or if you’re able to handle gluten, regular flour works too.
- Dairy Free Butter: I recommend Melt Organic Plant Based Butter Sticks. I use salted, but you could also use unsalted or your favorite dairy free butter sticks. Also, if you don’t need to avoid dairy, you can use regular butter here as well!
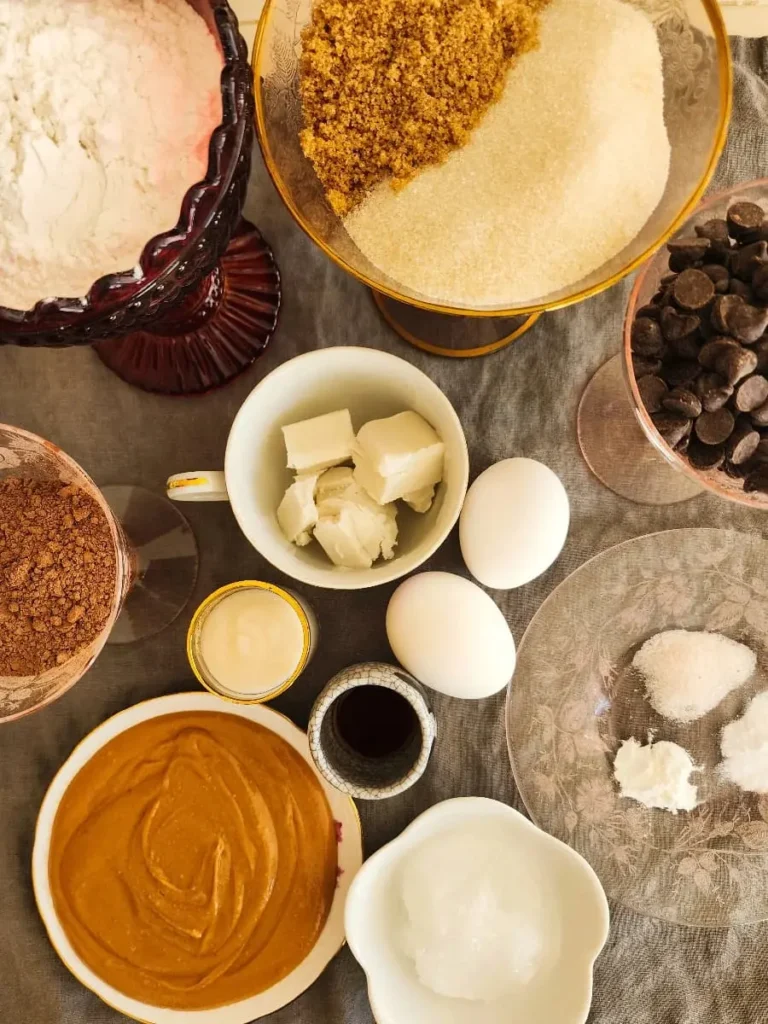
- Coconut Oil: I love to add a bit of coconut oil to many of my baked goods — not so much that the coconut flavor comes through, but just enough to add to the flavor complexity and to increase the moisture and tenderness of the finished product. Note that you’ll want the virgin, unrefined coconut oil here; I buy mine at Costco.
- Dairy Free Yogurt: I use dairy free yogurt in this recipe to add to the moisture level. To me, I haven’t found one clear winner in the dairy free yogurt category. (I don’t think any are good enough to eat plain!) But luckily, in these small quantities, we have a lot of flexibility, so feel free to use any plain or vanilla yogurt you like. And if you don’t need to avoid dairy, feel free to swap out for regular yogurt in plain or vanilla.
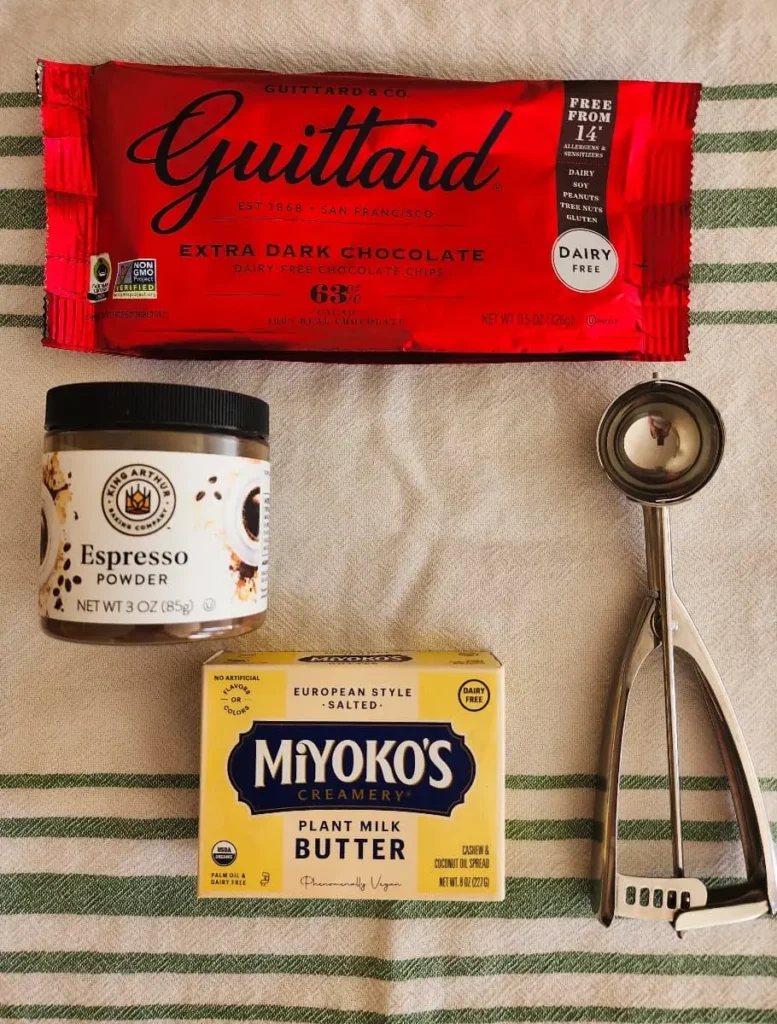
- Espresso Powder: Whenever I’m baking with cocoa powder, you’ll find me adding espresso powder to the recipe. This ingredient is optional, but trust me, such a good idea. Add just a smidge and all of a sudden the chocolate is so much richer, deeper, and more chocolatey! It’s a superpower, seriously. You don’t have to like coffee to like espresso powder — I am not a coffee drinker myself. The coffee flavor doesn’t come through; it’s just enough to amp up the complexity and richness of the chocolate flavor. Yum!
- Quality Chocolate: As I’m sure you know, not all chocolates are equal. My vote is for Guittard, all day every day. Their chocolate is vastly superior, in my opinion, to the other chocolate chip offerings. It can get expensive, so whenever I see a sale, I buy as many bags as possible. I like the red bag (Guittard Extra Dark Chocolate Chips), but you could definitely conduct some fun taste tests to determine your favorite. And if you do use another version or brand, make sure to read the label to ensure that it’s dairy free.
The Steps: How to Make Dark Chocolate Chocolate Chip Peanut Butter Cookies
Step 1: Prep
Set out the dairy free butter and eggs so that they can begin to come to room temperature. (If your kitchen is extra cold and you’re worried that your DF butter won’t warm quickly enough, you can cut it into a few pieces to speed the process.) Measure out the gluten free flour blend, cocoa powder, baking powder, baking soda, salt (I use regular ol’ table salt), and espresso powder into a medium-sized bowl; stir so that everything gets fully mixed and set aside. Grab your cookie sheets and some parchment paper, and preheat your oven.
Step 2: Make the Dough
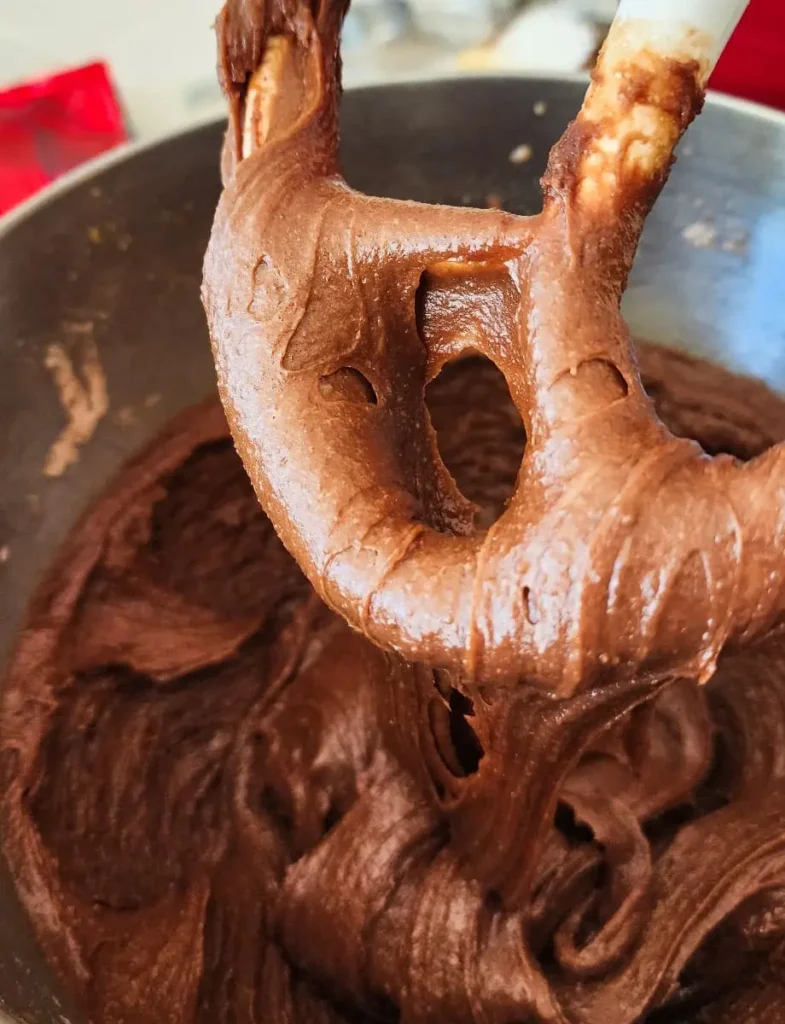
Mix the sugars, fats, and peanut butter until well mixed. (Don’t be too worried about the temperature of your fats; if the DF butter or the coconut oil is still cold and hard, just beat it for an extra minute or so to soften.) Then add in the eggs, dairy free yogurt, and a splash of vanilla. Add the dry ingredients you already measured out, and gradually incorporate until fully mixed. (Mix in short bursts at first to avoid the giant cloud of flour in your face that comes when you mix too quickly!) Once you’ve got it all mixed in, behold the glory that is your glossy, dark, chocolatey cookie batter. You will be tempted to eat it by the spoonful!
Mix in the chocolate chips and stir to make sure they’re fully distributed. Time to bake the cookies!
Step 3: Bake the Cookies
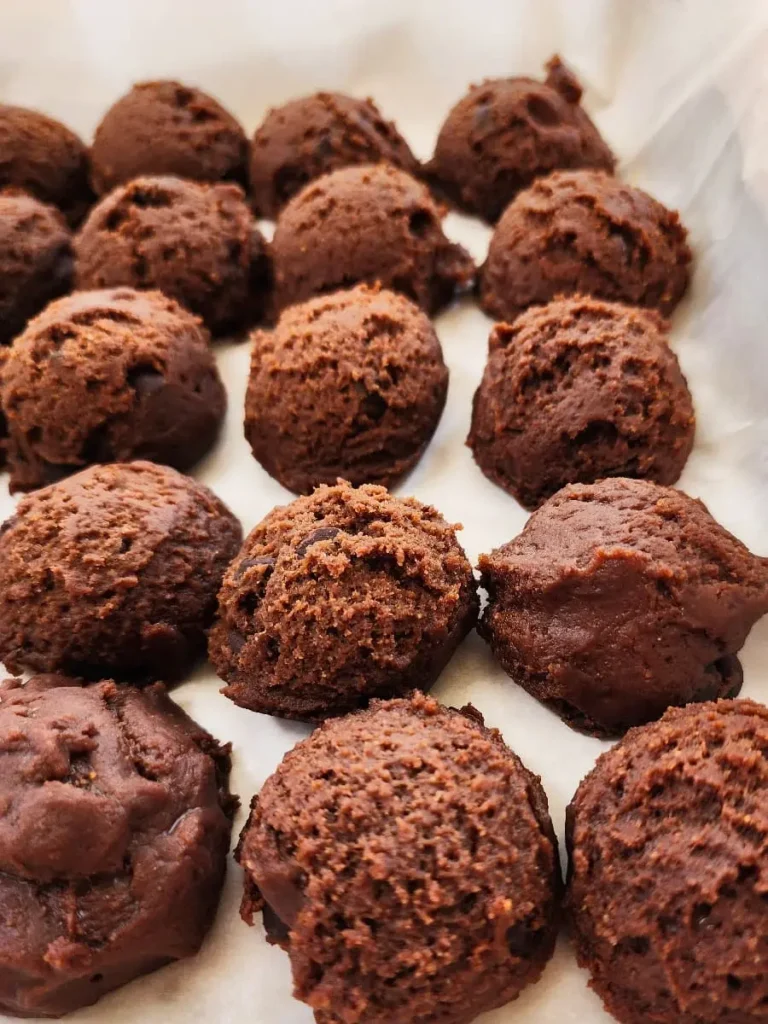
Use a medium-sized cookie scoop (size 40, or 2 tablespoon) to scoop up chocolatey mounds of goodness. Space them evenly on a cookie sheet lined with parchment paper, 12 to a sheet. The dough is pretty sticky, what with all the peanut butter, so I typically have to bang the scoop on the side of the cookie sheet a few times to get it to release. I tried refrigerating the dough for a bit to see if it helped, but it didn’t really. So I just keep whacking away, knowing that it is totally worth it! You can also scoop out your cookie dough using a soup spoon and use another spoon to remove the dough. Normally I love topping my cookies with some flaked salt, but I was surprised that I don’t prefer it with these cookies. They’re already perfect as they are!
Bake at 350°F for 12 minutes until the cookies are puffed up and set, but still soft. Then let them rest on a rack while still sitting on the cookie sheet for another 10 minutes. This lets them bake just a bit longer from the heat of the cookie sheet so that they firm up without getting dried out. The finished result is a cookie that stays soft and moist, even after several days. Delish!
Step 4: Serve & Enjoy
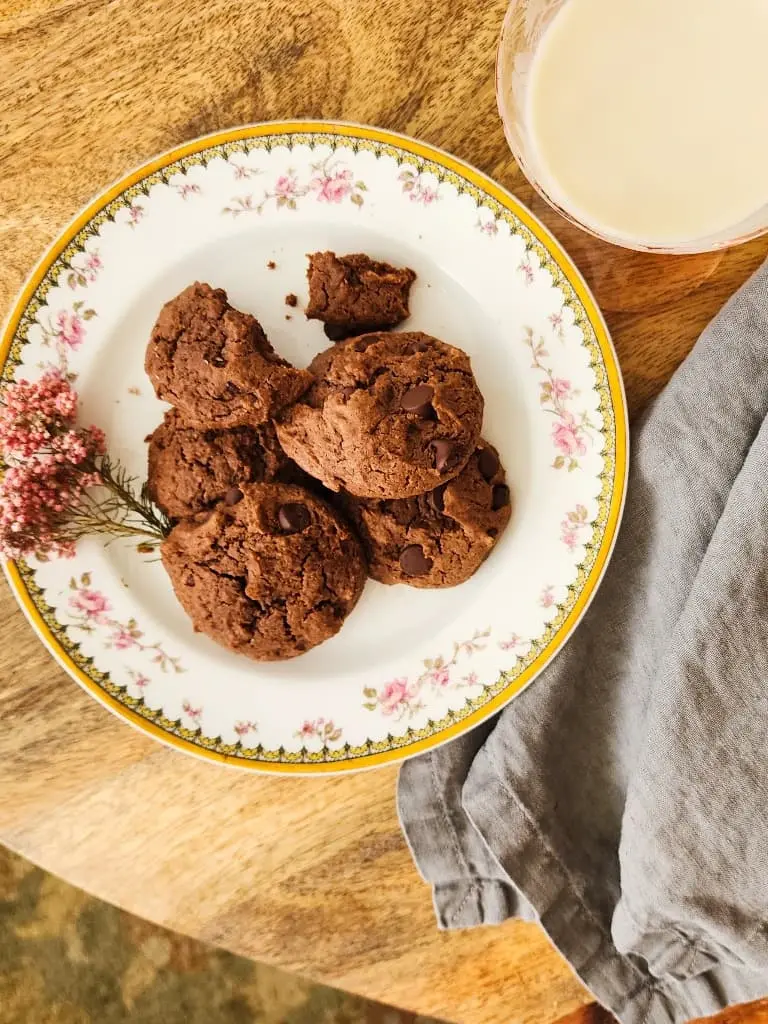
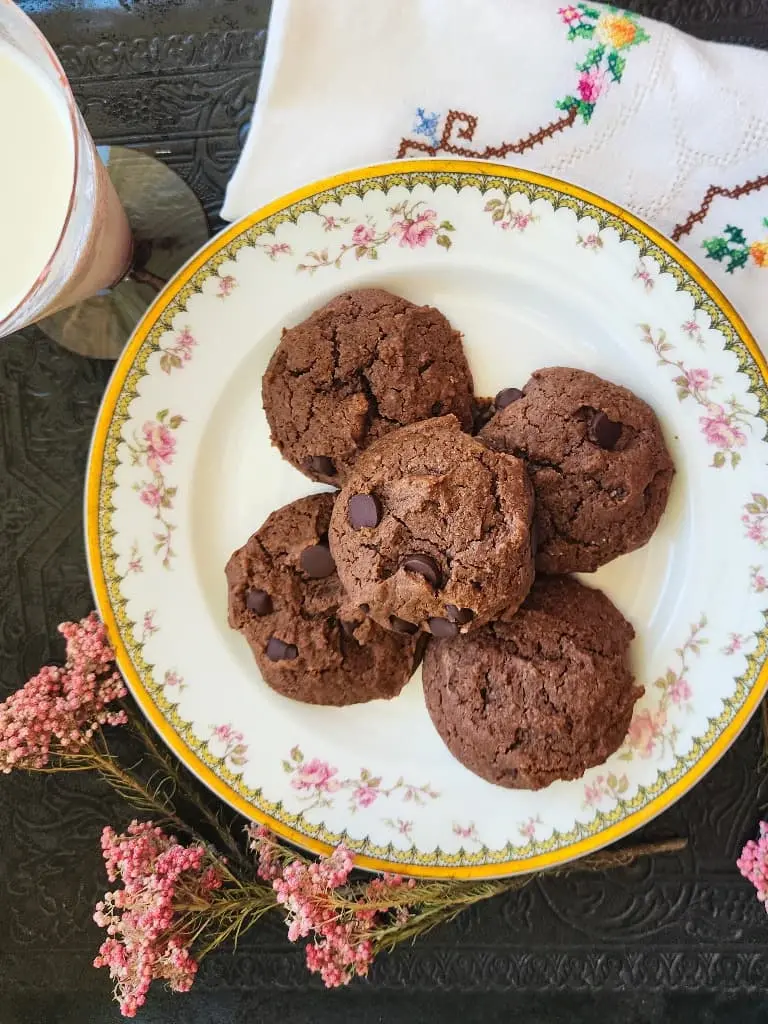
Serve up a plate of these chocolate peanut butter cookies with a tall glass of oat milk — that’s about as classic as it gets!
Step 5: Store
With the rest of your dough, you have options:
- Store the Baked Cookies: Bake the rest of the cookies in separate batches. Store the extras in an airtight container. The cookies will stay soft and delicious for many days — I would guess 3 to 4 days, but it’s hard to say because they’re always eaten so quickly!
- Freeze the Dough Balls: This my preferred method — I usually bake up one cookie sheet to gobble up immediately, then freeze the rest as dough balls. Scoop the remaining dough into dough balls and place onto a smaller cookie sheet (or anything that can fit in your freezer), spacing the dough balls close together. Freeze until hard (for an hour or so), then remove from the cookie sheet and place in a plastic bag. Whenever you want fresh-baked cookies, bake the frozen dough balls at 350°F for 13 minutes (1 minute longer than normal), then let them cool while still on the cookie sheet. By the time they are cool, they will be soooo soft.
- Freeze the Baked Cookies: You can also freeze cookies after they are baked. Pop the cooled cookies into a Ziploc freezer bag and store for a rainy (or any) day. To thaw, simply sit on your plate for a few minutes until thawed, or hurry the process by popping the cookies into the microwave and heating for 10 seconds at a time until thawed. If I am going to ship these cookies to a loved one, I will freeze them first and then ship in the frozen state!
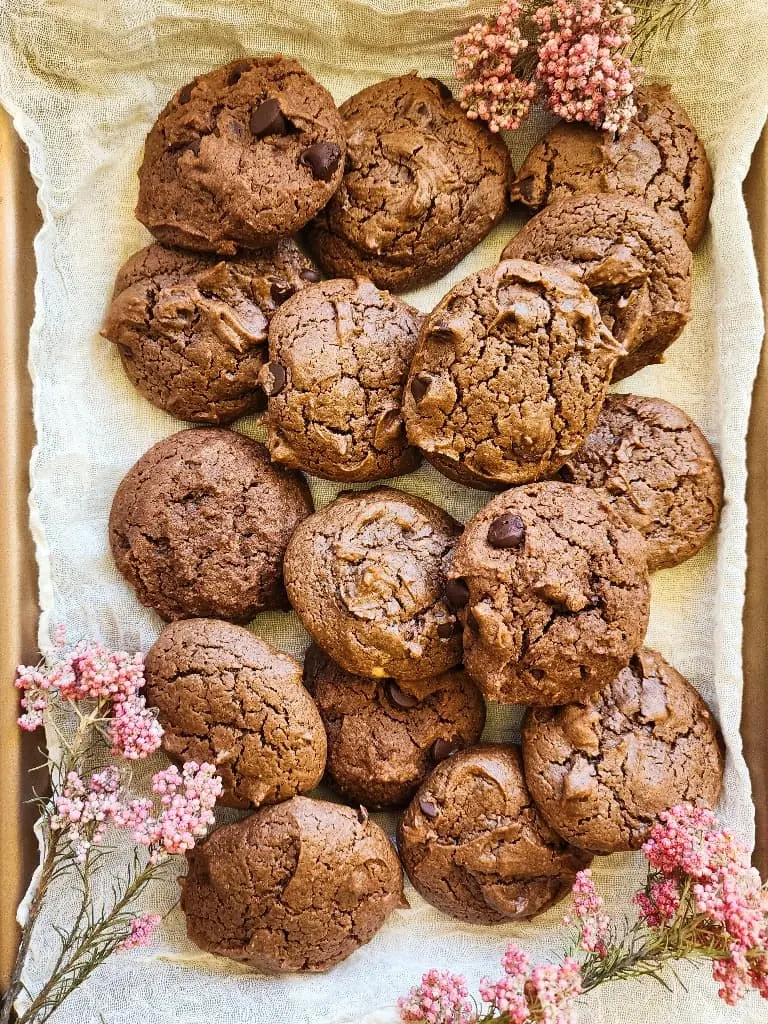
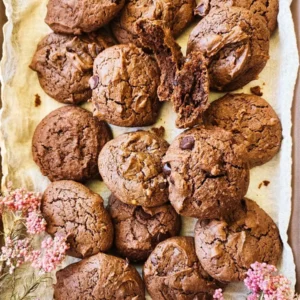
Every bite is deep dark chocolate, with little bursts of melted chocolate chips, all infused with rich and nutty peanut butter. Perfection!
More Ideas: A Few Other Gluten and Dairy Free Desserts
Looking for other yummy gluten free and dairy free dessert recipes? Here are a few ideas to add to your list:
Leave a comment to let me know how it goes, have fun, and remember:
Cooking is an act of love — be proud of yourself for creating joy & healing in the world!
Dark Chocolate Chocolate Chip Peanut Butter Cookies (GF/DF)
Equipment
- mixer – stand mixer or hand mixer
- cookie scoop – medium / size 40 / 2 tablespoons (optional)
Ingredients
Fats & Sugars
- 3/4 cup sugar
- 1/2 cup brown sugar
- 1/4 cup dairy free butter – I strongly recommend Miyoko’s Plant Milk Butter, European Style Salted
- 1/4 cup coconut oil – extra virgin
- 2/3 cup peanut butter
Wet
- 2 eggs – large
- 3 tablespoons dairy free yogurt – plain or vanilla
- 1 teaspoon vanilla
Dry
- 1 1/2 cups gluten free flour blend – I strongly recommend Authentic Foods Steve's Gluten Free Cake Flour Blend
- 1/2 cup cocoa powder
- 1/2 teaspoon baking powder
- 1/2 teaspoon baking soda
- 1/2 teaspoon salt
- 1/2 teaspoon espresso powder – I recommend King Arthur Espresso Powder
Mix-Ins
- 3/4 cup dairy free dark chocolate chips – I recommend Guittard Extra Dark Chocolate Chips
Instructions
Prep
- Set out the dairy free butter and eggs.1/4 cup dairy free butter2 eggs
- Measure out the dry ingredients into a medium-sized bowl. Stir with a fork to combine, and set aside.1 1/2 cups gluten free flour blend1/2 cup cocoa powder1/2 teaspoon baking powder1/2 teaspoon baking soda1/2 teaspoon salt 1/2 teaspoon espresso powder
- Line your cookie sheets with parchment paper.
- Preheat oven to 350°F.
Make the Dough
- Using a stand mixer fitted with the paddle attachment (or a hand mixer), mix the fats and sugars (including the peanut butter) on medium speed for about 3 minutes until well mixed. Scrape down the sides of the bowl and mix for another 30 seconds or so. 3/4 cup sugar 1/2 cup brown sugar 1/4 cup dairy free butter 1/4 cup coconut oil 2/3 cup peanut butter
- Add the wet ingredients and mix for another 30 seconds or so. Scrape down the sides of the bowl again.2 eggs3 tablespoons dairy free yogurt1 teaspoon vanilla
- Add the dry ingredients. Pulse the mixer about 10 times or so to gradually incorporate. Then mix on low for about 10 seconds. Scrape down the bowl and mix on medium for another 10 seconds or so until fully mixed.
- Turn the mixer on low and slowly pour in the chocolate chips. Using a wooden spoon or spatula, turn the dough over a few times to ensure that the chocolate chips are well distributed. (If using a hand mixer, stir in the chocolate chips by hand to avoid overheating your mixer.)3/4 cup dairy free dark chocolate chips
Bake the Cookies
- Scoop the dough into balls using a medium cookie scoop (size 40, or 2 tablespoons). You may have to give the cookie scoop a whack on the side of the cookie sheet to get it to release! (If you don’t have a cookie scoop, just use a soup spoon.)
- Place 12 cookies per cookie sheet, leaving an equal amount of space around each cookie so that the cookies can spread out a bit as they bake.
- Bake the cookies at 350°F for about 12 minutes. The cookies will be puffed up but not quite firm.
- Let the cookies cool while still sitting on the cookie sheet, on top of a wire rack, for about 10 minutes. The cookies will continue to bake a tiny bit as they cool on the cookie sheet. (If you eat them at this stage, they will fall apart but will still be yummy!)
Notes
- Storage: Store in an airtight container; they should stay soft and yummy for several days.
- Freezing the Dough: If you don’t need the whole batch right away, you can freeze the dough balls. Scoop the extra dough onto a smaller cookie sheet (or anything that can fit in your freezer), placing the dough balls close together. Freeze the dough balls until hard (for an hour or so), then place the dough balls in a plastic bag and return to the freezer. Whenever you want fresh-baked cookies, bake the frozen dough balls at 350°F for 13 minutes (1 minute longer than normal), then let them cool while still on the cookie sheet.
- Freezing the Cookies: You can also freeze the cookies after they have been baked. When you are ready to eat a cookie or two (or ten), let them defrost sitting out on the counter. You can also microwave them for 10 seconds at a time until defrosted. If I am going to ship these cookies to a loved one, I will freeze them first and then ship in the frozen state!