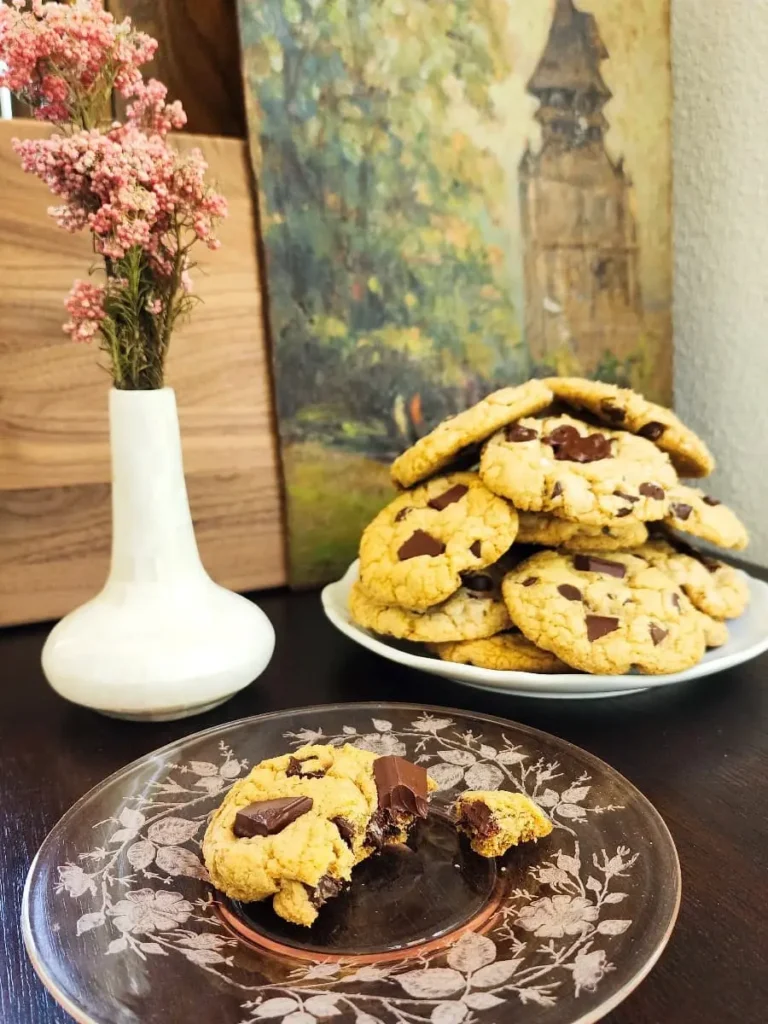
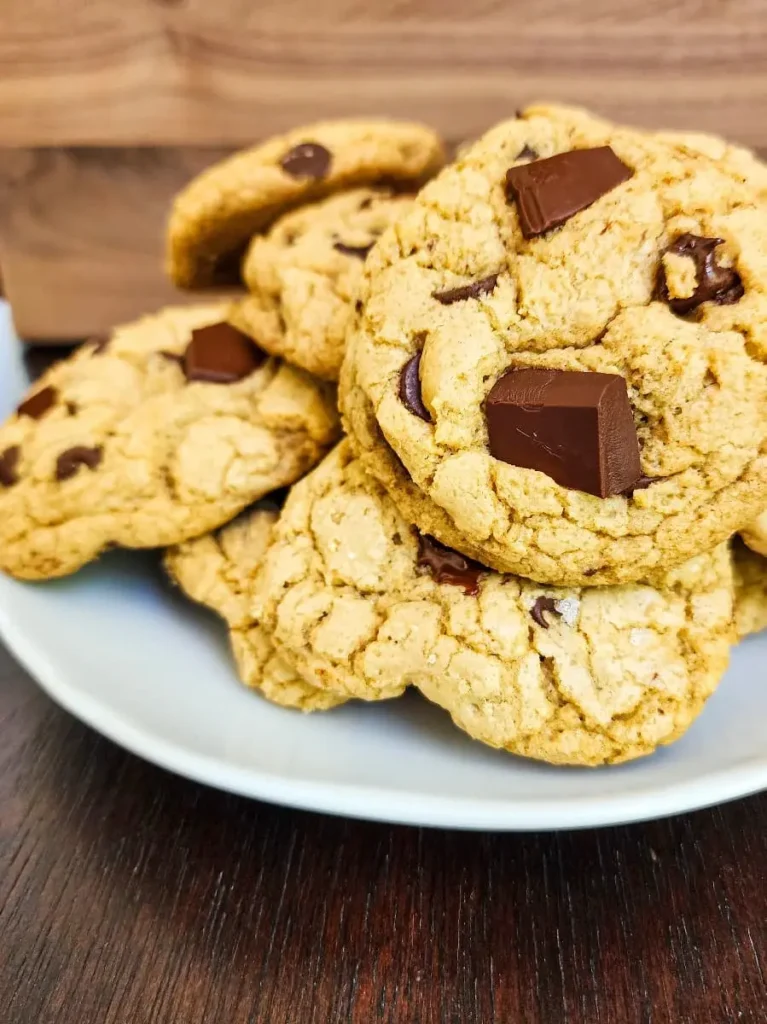

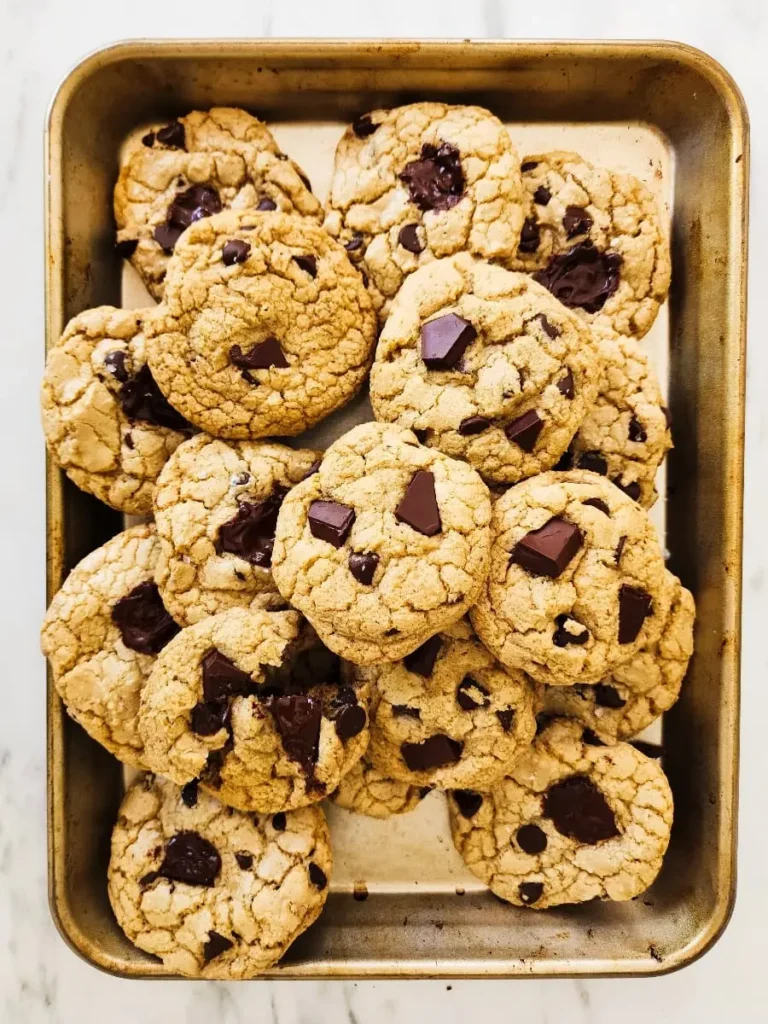
Gluten Free Dairy Free Chocolate Chip Cookies
These chocolate chip cookies are so soft and full of browned butter flavor that no one would ever guess that they are gluten free AND dairy free. Make sure to use the recommended gluten free flour blend and dairy free butter (see links in the post above) to achieve the same results.
Equipment
- cookie scoop size 40 / 2 tablespoons (optional)
- mixer (optional)
Ingredients
Wet
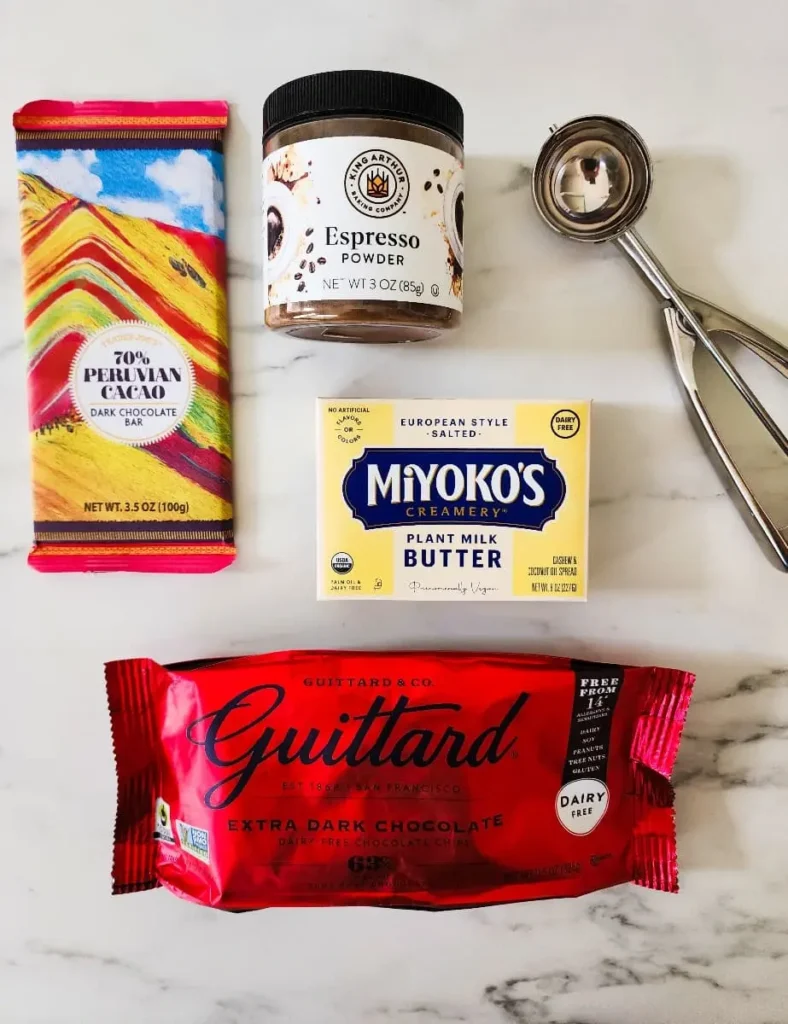
- 1 cup dairy free butter (strongly recommended: Miyoko’s Plant Milk Butter, European Style Salted)
- 2 tablespoons coconut oil (virgin, unrefined)
- 1 cup brown sugar
- 2/3 cup sugar
- 2 tablespoons maple syrup
- 1 tablespoon vanilla
- 2 eggs (large)
Dry
- 3 cups gluten free flour blend (strongly recommended: Authentic Foods Steve's Gluten Free Cake Flour Blend)
- 2 teaspoons baking soda
- 1/2 teaspoon salt
- 1/2 teaspoon espresso powder (recommended: King Arthur Espresso Powder)
Mix-Ins & Toppings
- 2 cups dairy free dark chocolate chips (recommended: 11.5 ounce bag of Guittard extra dark)
- 1/2 cup dairy free chocolate (optional, two possibilities: Trader Joe’s 70% Peruvian Bar or Guittard Bittersweet Wafers)
- flaked salt (optional, a possibility: Maldon Sea Salt Flakes)
Instructions
Brown Butter
- Begin to melt the dairy free butter over medium heat.
- Stir periodically until the liquid begins to foam.
- Cook for an additional 5 minutes, stirring frequently until amber and aromatic.
- Turn off the heat, and stir in the coconut oil.
- Set the pan aside to cool.
Prep
- Preheat oven to 325°F.
- Take the eggs out of the refrigerator and set on the counter.
- Measure out the dry ingredients into a medium-sized bowl. Stir to combine, and set aside.
- Line the cookie sheets with parchment paper.
Make the Dough
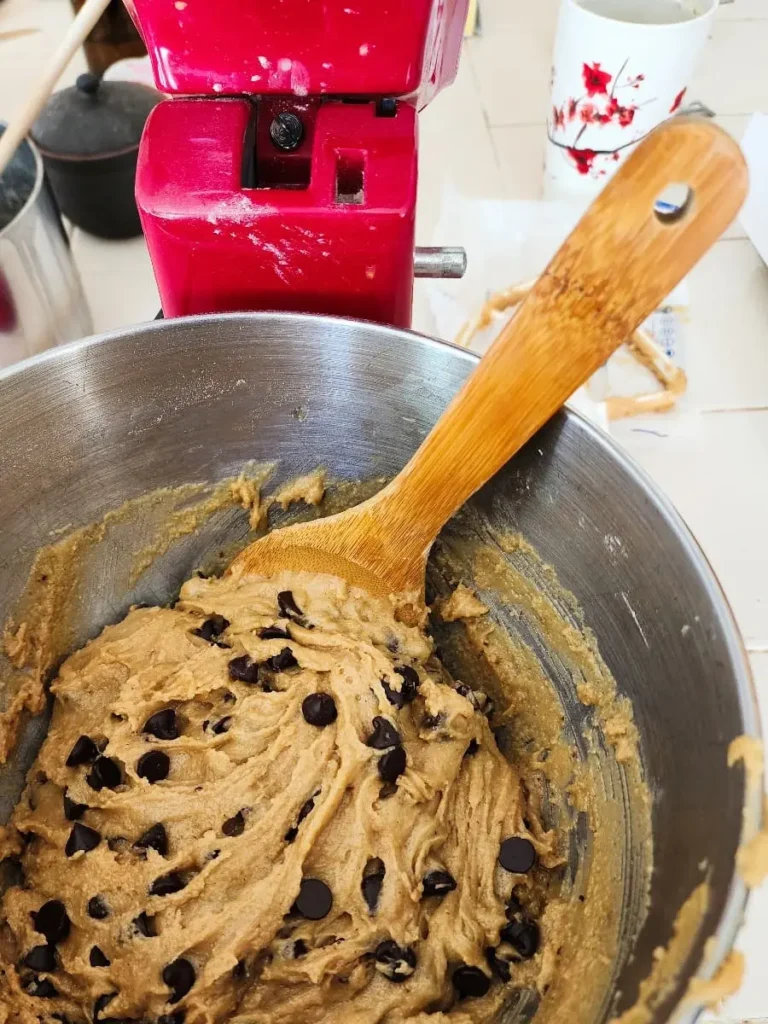
- Using a stand mixer fitted with the paddle attachment or a hand mixer (a wooden spoon and some arm strength is also OK!), mix the sugars, maple syrup, and vanilla for 30 seconds or so. Scrape down the sides of the bowl.
- Once the melted butter mixture has cooled to room temperature, mix it into the sugar mixture. (Slightly warm is also OK, but it shouldn’t be hot to the touch.)
- Add the eggs; mix for about 1 minute.
- Add the dry ingredients; mix until combined.
- Stir in the chocolate chips.
- Place the bowl in the freezer or fridge for approximately 5 minutes; meanwhile, chop the chocolate bar or wafers (if using).
Bake the Cookies
- Scoop the dough into balls using a medium cookie scoop (size 40 / 2 tablespoons), scraping off any extra dough against the side of the mixing bowl. (If you don’t have a cookie scoop, just use a soup spoon.)
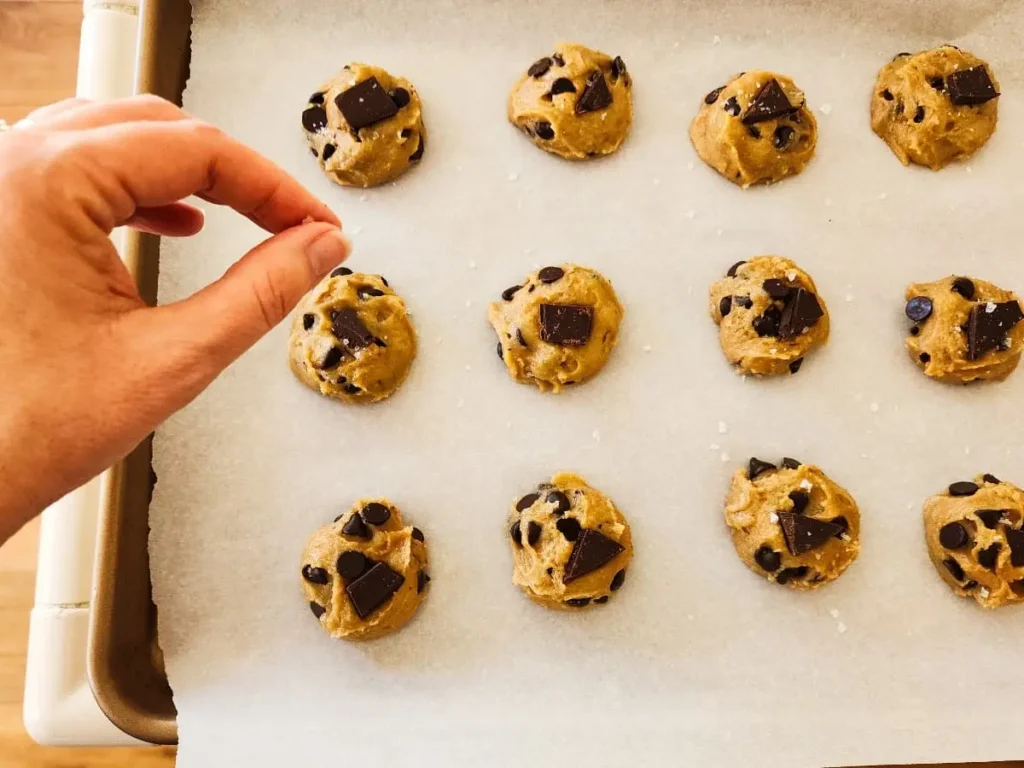
- Place 12 cookies per cookie sheet, leaving an equal amount of space around each cookie so that it can spread out a bit as it bakes.
- If you would like, top each cookie with 1-2 pieces of broken chocolate bar and a few flakes of salt.
- Bake at 325°F for 14 minutes or until the cookies are just barely showing signs of starting to be thinking about turning golden around the edges. (They won’t be totally done at this point, which is OK—they will finish baking on the cookie sheet as they cool.)
- Place the cookie sheet on a rack to cool, and set a timer for 10 minutes. After 10 minutes, remove the cookies from the cookie sheet and place them on the rack to finish cooling.
Notes
- The recipe makes 39 cookies.
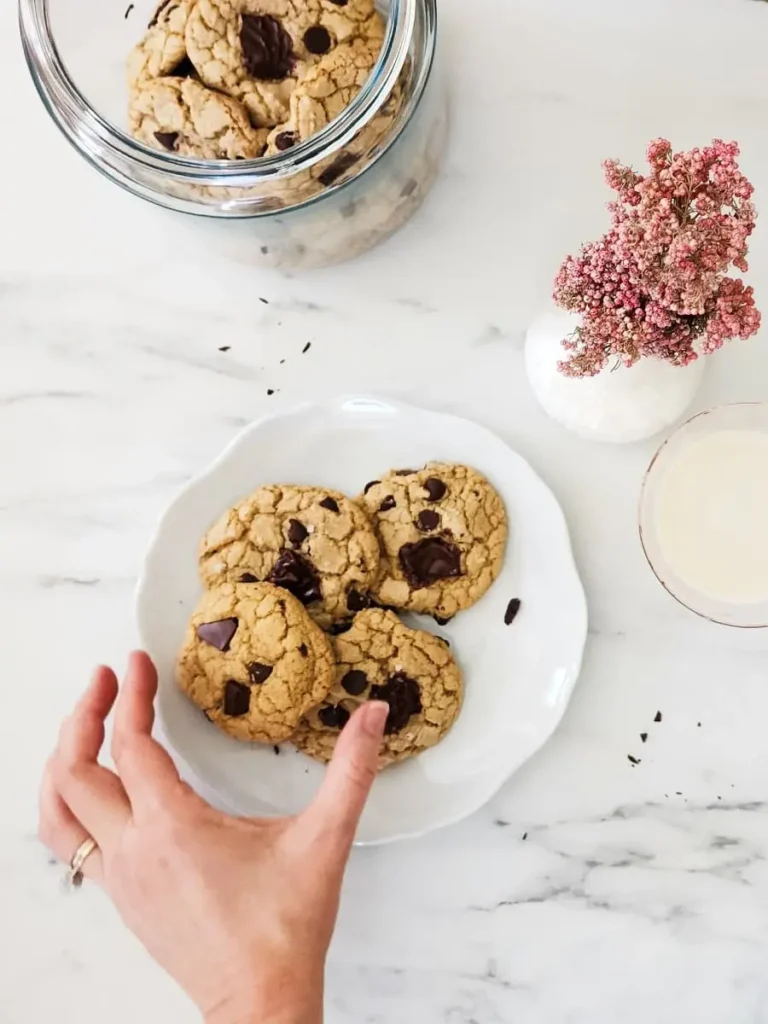
- Store in an airtight container; they should stay soft and yummy for several days.
- If you don't need the whole batch right away, freeze dough balls for future use:
- Scoop the extra dough onto a smaller cookie sheet (or anything that can fit in your freezer), placing the dough balls close together.
- Freeze the dough balls until hard (for a few hours or overnight), then place the dough balls in a Ziploc bag.
- Whenever you want fresh-baked cookies, bake the frozen dough balls directly from the freezer, using the same technique as above, but add one additional minute (or so) to the baking time.
- The cookies are even a tiny bit better after freezing, which is a bonus. Plus, it is pure genius to have frozen cookie dough balls in your freezer; you can go from zero to cookie heaven in just under 30 minutes!